
Coworker Onboarding Guide
Coworkers can be onboarded from the marketplace, where there are numerous premade coworkers designed for specific purposes. Follow these steps to onboard a coworker:
Accessing the Marketplace
- Open the Marketplace:
- From the main screen, click on the Marketplace button. This action will open the marketplace in a new tab.
Navigating the Marketplace
- Explore Coworker Categories:
- The marketplace offers coworkers categorized by industry. The selection starts from All and includes:
- Conventional
- Health Care
- Enterprise
- Manufacturing
- Education
- Personal
- Entertainment
- Retail
- The marketplace offers coworkers categorized by industry. The selection starts from All and includes:
- Select a Coworker:
- Each category tab has specifically designed coworkers to choose from. Browse through the categories and check out all the available coworkers.
Hiring a Coworker
- Initiate the Hiring Process:
- To start the hiring process, directly click on the Hire button on the coworker card.
- For more detailed information about a coworker, click on the "i" icon on the coworker card.
- Star Coworkers:
- If you are just browsing and want to configure multiple coworkers, click on the star icon on the coworker card. All starred coworkers can be seen in the Starred section of the marketplace.
- Complete the Hiring:
- Once you have read all the information or selected the desired coworker, click on the Hire button.
- Select the workspace you want to onboard the coworker onto.
Configuring Connectors
- Configure Necessary Connectors:
- After selecting the workspace, you will be navigated to a new screen where you will see all the connectors this coworker needs to execute tasks.
- From this page, you can configure the connectors one by one or choose to do that later.
- Connector Requirements:
- Each coworker has different connectors or additional requirements. For example:
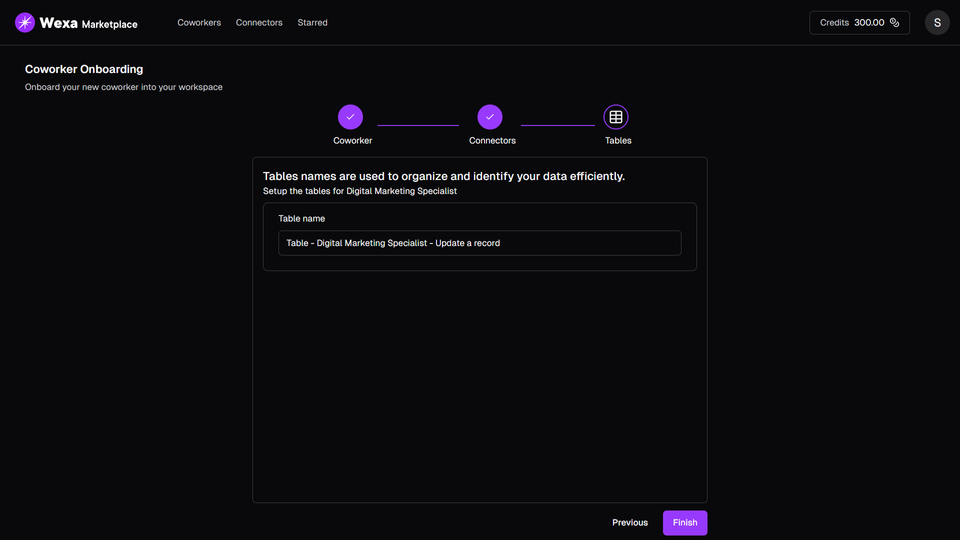
- Some connectors may require you to add or create a table in JSON format.
- Some connectors may require you to add files for better execution.
- Each coworker has different connectors or additional requirements. For example:
- Finish the Configuration:
- Once all the connectors are configured (if you decided to configure them immediately), or if you have just selected Next on every step, click on Finish.
- You will be navigated back to the main screen on the Coworker tab, where you will see the hired coworker ready to be used.