
Creating Workspace
Wexa.ai workspaces provide a way to organize your automations. They function like virtual containers to group coworkers (workflows) specific to your team, project, or department. Creating a workspace is optional, but it can help you maintain a clear and organized structure for your automation needs.
Here's how to create a workspace (if applicable):
- Access Workspace Creation: After successful sign-in, you might encounter a pop-up prompting you to create a workspace. You might also find a dedicated option within the Wexa.ai platform to initiate workspace creation (specific instructions may vary).
- Provide Workspace Details: The platform will typically request the following information for your new workspace:
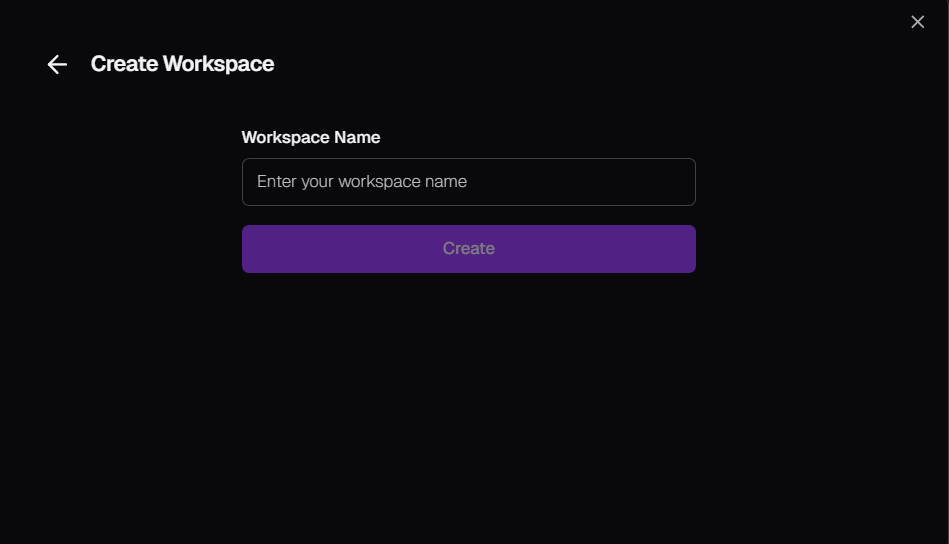
- Workspace Name: Choose a descriptive name that reflects the purpose or content of the workspace (e.g., "Marketing Automation" or "Sales Team Workflows"). Note: Workspace names might have minimum and maximum character limits.
- Workspace Description (Optional): You can optionally add a brief description to further clarify the workspace's purpose and contents.
- Click "Create": Once you've filled in the necessary details, click the button labeled "Create" or similar to finalize workspace creation.
Key Points to Remember:
- Coworkers (workflows) you create or acquire will be housed within your designated workspace.
- Existing coworkers won't automatically transfer to newly created workspaces. You'll need to recreate or import them specifically for the new workspace.
- Upon successful workspace creation, you'll likely be directed to the Wexa.ai home screen (dashboard).
Checking Your Workspace:
- The workspace name is usually displayed in the top toolbar of the Wexa.ai interface. Clicking on it might reveal a menu where you can:
- View all your workspaces
- Switch between existing workspaces
- Create new workspaces (following similar steps as outlined above)