
Coworker Execution: Process
Once you've designed your coworker with configured connectors and defined agents, you're ready to initiate the automation process. Here's a breakdown of how to execute your coworker in Wexa.ai:
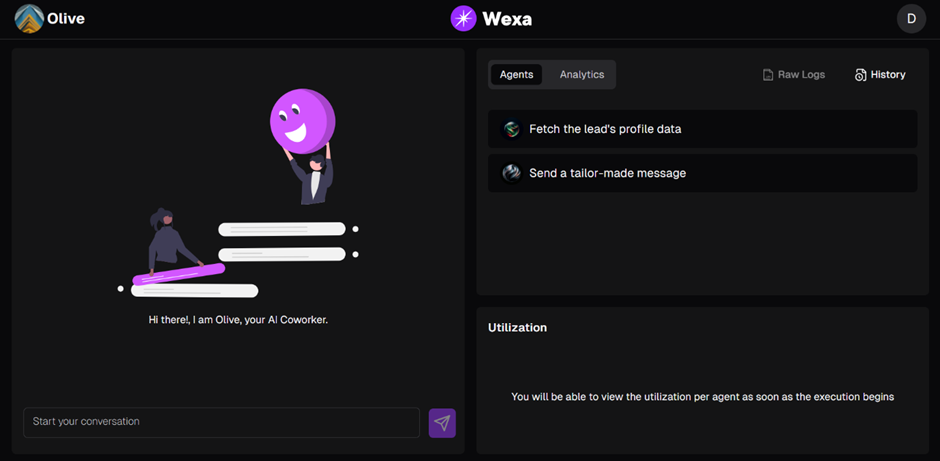
- Initiating Execution:
Locate the desired coworker within your list and click the "Run" button. This action triggers the execution process and opens a dedicated execution tab.
Providing Instructions (Optional):
The execution tab might present a "Goal Input" section. If available, provide a clear and concise statement outlining the specific objective you want your coworker to achieve. The more precise your instructions, the more efficiently your coworker can execute the task.
Monitoring Performance:
The execution tab serves as your central hub for monitoring your coworker's performance as it progresses through the automation tasks. Here's a closer look at the key components you'll encounter:
Resource Utilization: This section offers a visual representation of the resource consumption by each agent involved in the execution process. By analyzing this data, you can identify potential bottlenecks or areas for optimization within your coworker's workflow.
Analytics : Delve deeper into the execution process with this optional section. You can toggle between two views for analysis:
- Agent View: Gain insights into the agents involved in the execution and identify the agent currently working on the task (when the coworker has a goal and is actively performing).
- Detailed Analytics: Utilize the drop-down menu to select the specific analytics you want to explore, such as tokens used, execution cost, or execution time in seconds. The data is presented in a table format for clear